How Make Facebook Private
How Make Facebook Private - Facebook is a great place to connect with friends and family, and share your thoughts and experiences with others. However, with the increasing concern over privacy and security on the internet, it has become more important than ever to make sure that your Facebook account is private and secure. We have put together some tips and ideas to help you make your Facebook account completely private.
How to Make Your Facebook Completely Private
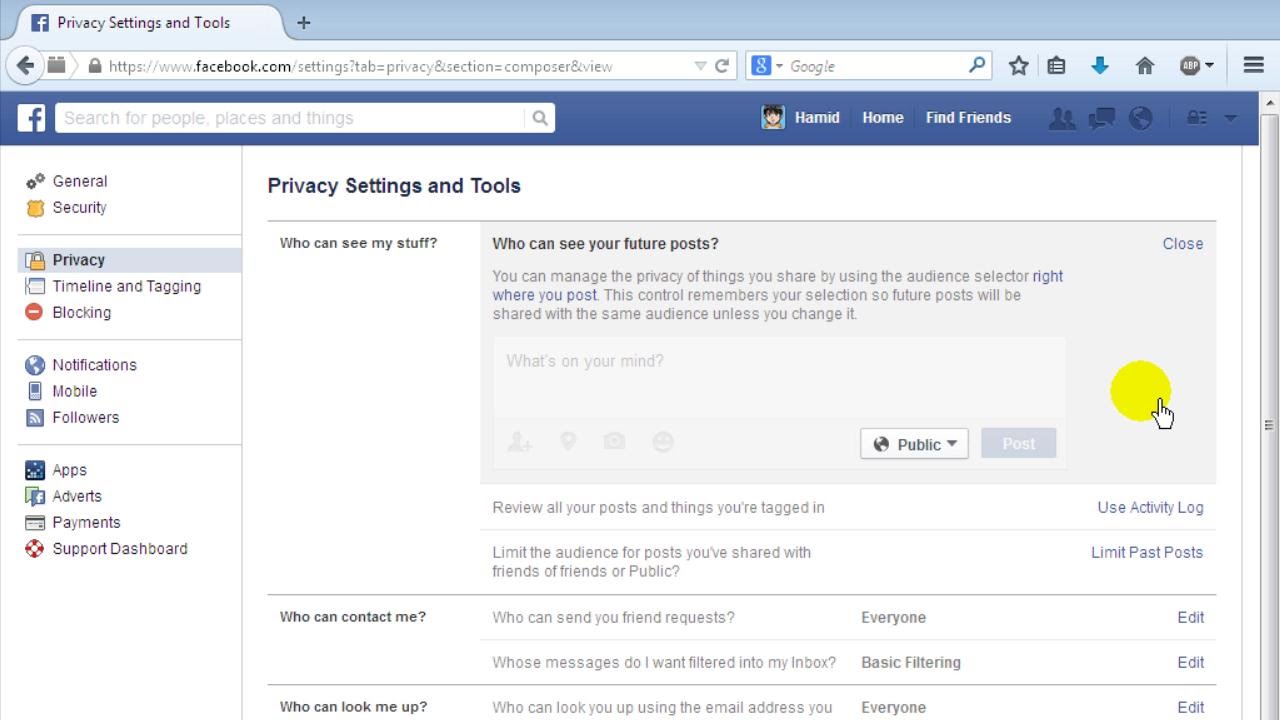
Step 1: Check Your Privacy Settings
The first step to making your Facebook account private is to check your privacy settings. To access your privacy settings, click on the down arrow in the top right corner of the screen and select "Settings & Privacy" from the dropdown menu. From there, select "Privacy Checkup" and follow the prompts to check and adjust your privacy settings as needed.
Step 2: Limit Who Can See Your Posts
One of the most important things you can do to make your Facebook account private is to limit who can see your posts. To do this, click on the down arrow in the top right corner of the screen and select "Settings & Privacy" from the dropdown menu. From there, select "Privacy Shortcuts" and then "Who Can See What You Share". From here, you can choose who can see your posts, as well as your activity on Facebook.
Step 3: Control What Information is Shared
Another important step to making your Facebook account private is to control what information is shared. To do this, click on the down arrow in the top right corner of the screen and select "Settings & Privacy" from the dropdown menu. From there, select "Privacy Shortcuts" and then "Your Facebook Information". Here, you can adjust who can see your personal information, as well as what information is shared with apps and advertisers.

Step 4: Manage Your Friends List
It is also important to manage your friends list to make sure that only people you know and trust have access to your Facebook account. To do this, click on the down arrow in the top right corner of the screen and select "Settings & Privacy" from the dropdown menu. From there, select "Privacy Shortcuts" and then "See More Privacy Settings". Here, you can adjust who can see your friend list, as well as who can send you friend requests.

Step 5: Turn on Two-Factor Authentication
Finally, it is important to turn on two-factor authentication to make your Facebook account even more secure. Two-factor authentication adds an extra layer of security by requiring a code in addition to your password to access your account. To turn on two-factor authentication, click on the down arrow in the top right corner of the screen and select "Settings & Privacy" from the dropdown menu. From there, select "Security and Login" and then "Use two-factor authentication".

By following these steps, you can make your Facebook account completely private and secure. Remember to regularly review your privacy settings and adjust them as needed to ensure that your information remains private.
Read more articles about How Make Facebook Private
Post a Comment for "How Make Facebook Private"