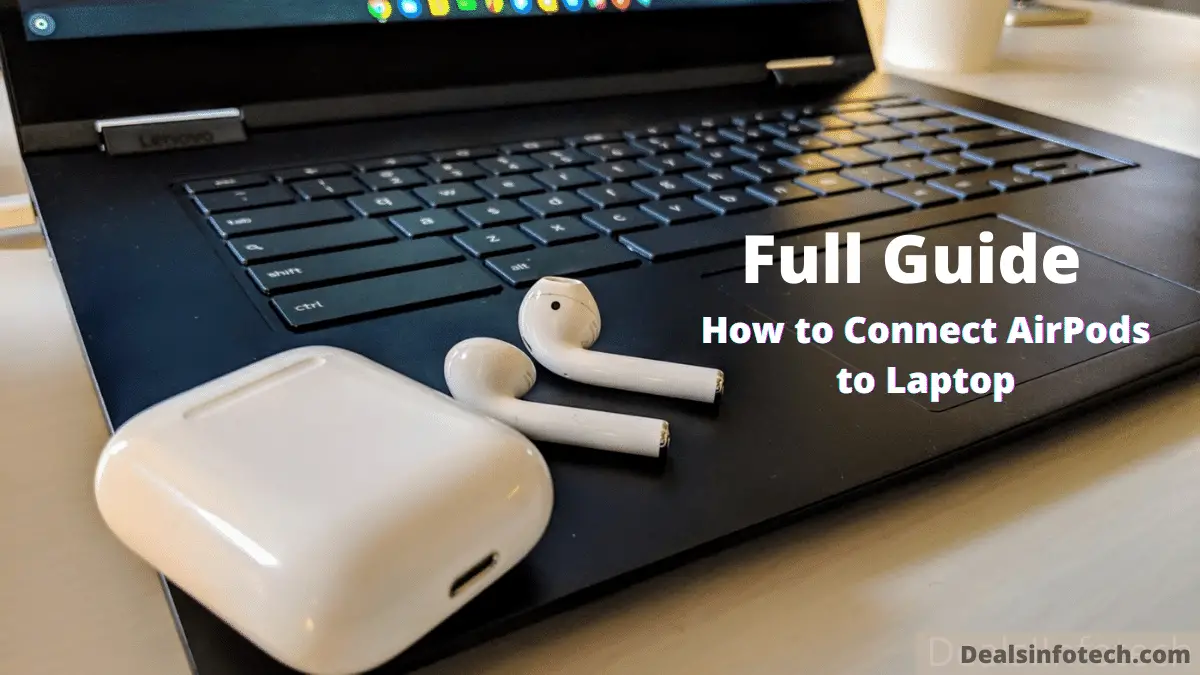
How To Connect Airpods To Laptop
How To Connect Airpods To Laptop - AirPods are the latest trend in the world of earphones, and their seamless connectivity with Apple devices has made them a fan favorite. However, sometimes you may want to use them with your laptop or PC, too. This is where things can start to get tricky, as the process of connecting AirPods to a non-Apple device is not as straightforward as with an iPhone or iPad. But don't worry, we've got you covered. Read on to learn how to connect your AirPods to your laptop or PC, no matter what brand it is.
How to Connect Airpods to Laptop or PC?
Step 1: Turn On Bluetooth on Your Laptop or PC
The first step in connecting your AirPods to your laptop or PC is to make sure Bluetooth is turned on. This is usually found in your system settings, but the location may vary depending on your device. Once you locate the Bluetooth settings, turn it on.
Step 2: Put Your AirPods in Pairing Mode
The next step is to put your AirPods in pairing mode. To do this, take both AirPods out of their case and place them on a flat surface. Then, press and hold the button on the back of the charging case for a few seconds until the LED light on the front of the case starts flashing white.
Step 3: Pair Your AirPods with Your Laptop or PC
Once your AirPods are in pairing mode, they should appear in the list of available devices in your Bluetooth settings. Click on the AirPods in the list and follow the on-screen instructions to complete the pairing process.
That's it! Your AirPods should now be connected to your laptop or PC. Here are a few extra tips and ideas to help enhance your experience:
How to Connect Airpods to Windows Laptop?
Step 1: Turn On Bluetooth on Your Windows Laptop
The first step in connecting your AirPods to a Windows laptop is to make sure Bluetooth is turned on. Click on the "Start" button and then click on "Settings". From there, select "Devices" and then "Bluetooth & other devices". Turn on Bluetooth if it isn't already on.

Step 2: Put Your AirPods in Pairing Mode
Put your AirPods in pairing mode by taking them out of their case and placing them on a flat surface. Press and hold the button on the back of the case until the LED light on the front of the case starts flashing white.
Step 3: Pair Your AirPods with Your Windows Laptop
Go back to your Windows laptop's Bluetooth settings and click on the "Add Bluetooth or other device" button. Select "Bluetooth" and then select your AirPods from the list of available devices. Follow the on-screen instructions to complete the pairing process.
Once your AirPods are connected to your Windows laptop, you can start using them to listen to music, take phone calls, or use them with any other app that supports Bluetooth audio devices.
How to Connect AirPods to Windows PC
Step 1: Turn On Bluetooth on Your Windows PC
If you're using a Windows desktop computer or any other PC, you'll need to make sure Bluetooth is turned on. Click on the "Start" button and then click on "Settings". Select "Devices" and then "Bluetooth & other devices". Turn on Bluetooth if it's not already on.

Step 2: Put Your AirPods in Pairing Mode
To put your AirPods in pairing mode, take them out of their case and place them on a flat surface. Press and hold the button on the back of the charging case until the LED light on the front of the case starts flashing white.
Step 3: Pair Your AirPods with Your Windows PC
Go back to your Windows PC's Bluetooth settings and click on the "Add Bluetooth or other device" button. Select "Bluetooth" and then select your AirPods from the list of available devices. Follow the on-screen instructions to complete the pairing process.
Once your AirPods are connected to your Windows PC, you can use them to listen to music, take phone calls, or use them with any other app that supports Bluetooth audio devices.
How to Connect AirPods to MacBook
Step 1: Turn On Bluetooth on Your MacBook
If you're using a MacBook, you'll need to make sure Bluetooth is turned on. Click on the Apple menu and then click on "System Preferences". Select "Bluetooth" and turn it on if it isn't already on.

Step 2: Put Your AirPods in Pairing Mode
Put your AirPods in pairing mode by taking them out of their case and placing them on a flat surface. Press and hold the button on the back of the charging case until the LED light on the front of the case starts flashing white.
Step 3: Pair Your AirPods with Your MacBook
Go back to your MacBook's Bluetooth settings and click on the "Pair" button next to your AirPods. Follow the on-screen instructions to complete the pairing process.
Once your AirPods are connected to your MacBook, you can use them to listen to music, take phone calls, or use them with any other app that supports Bluetooth audio devices.
Connecting your AirPods to any device can seem daunting at first, but by following these simple steps, you can enjoy your AirPods with any laptop or PC, regardless of the brand. With their sleek design and seamless connectivity, they are sure to enhance your audio experience no matter where you go. So go ahead, take that conference call or tune into your favorite music playlist, with your AirPods by your side.
Read more articles about How To Connect Airpods To Laptop
Post a Comment for "How To Connect Airpods To Laptop"